Transform Your Kitchen with Vertical Storage and Smart Appliances
A cluttered countertop can make even the most modern kitchen feel cramped, stressful, and impossible to work in. Imagine swapping a bulky espresso machine for a clean line of wall‑mounted shelves that instantly frees up space, improves workflow, and looks sleek—all without the cost of a full remodel. In this guide we’ll show you how to harness vertical wall space, protect your walls, and add strategic overflow storage that outperforms any high‑end appliance upgrade.

Our editorial team covers wellness, productivity, and modern living \u2014 backed by research, shaped by real experience. We believe good advice should read like a conversation, not a textbook.
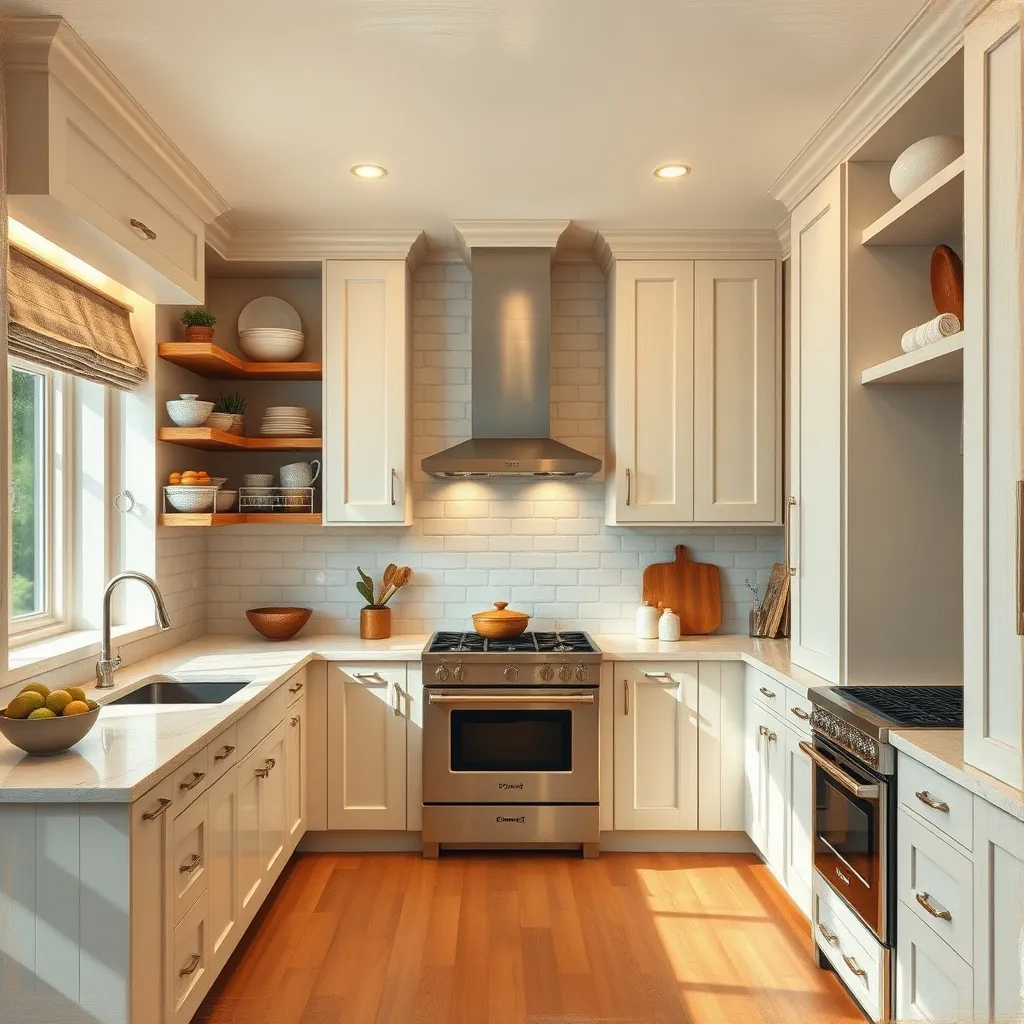
Maximizing Vertical Wall Space Over High-End Countertop Appliances
You’ve probably eyed a shiny new espresso machine or a smart toaster, hoping they’ll solve the real problem: lack of usable prep area. The truth is, appliances are guests in your kitchen, not the hosts. When they dominate the countertop, the space you need for chopping, mixing, and plating disappears.
Research from the National Kitchen & Bath Association shows that a clear work surface improves cooking efficiency by up to 35 %, purely by reducing the time spent navigating around obstacles. Instead of spending a fortune on gadgets, direct your budget toward vertical storage that actually expands your functional square footage.
Designing Workhorse Nooks with Modular Units
Modular shelving lets you create purpose‑built zones without sacrificing floor space. An IKEA KALLAX 2×2 unit (30 1⁄8″ × 30 1⁄8″) retails for $49.99 and makes an ideal low‑profile coffee station or baking nook in an open corner. When space is at a premium, flip a slim unit upright; you double storage capacity while keeping sightlines open.
A taller KALLAX 1×4 shelf ($34.99, 16 3⁄8″ × 57 5⁄8″) slides into narrow gaps, transforming unused wall real‑estate into an accessible pantry. Pair these frames with clear acrylic containers and label them for instant retrieval.
Key takeaways for vertical layout success
- Relocate daily staples (coffee beans, mugs, spices) to tiered shelves.
- Choose narrow silhouettes to preserve visual flow and natural light.
- Convert corners into dedicated pantry stations with modular frames.
By building upward rather than outward, you double accessible capacity while maintaining an airy feel. As interior designer Marina Patel notes, “Vertical storage turns the kitchen from a flat slab into a three‑dimensional canvas, letting you store more while keeping the room breathable.”
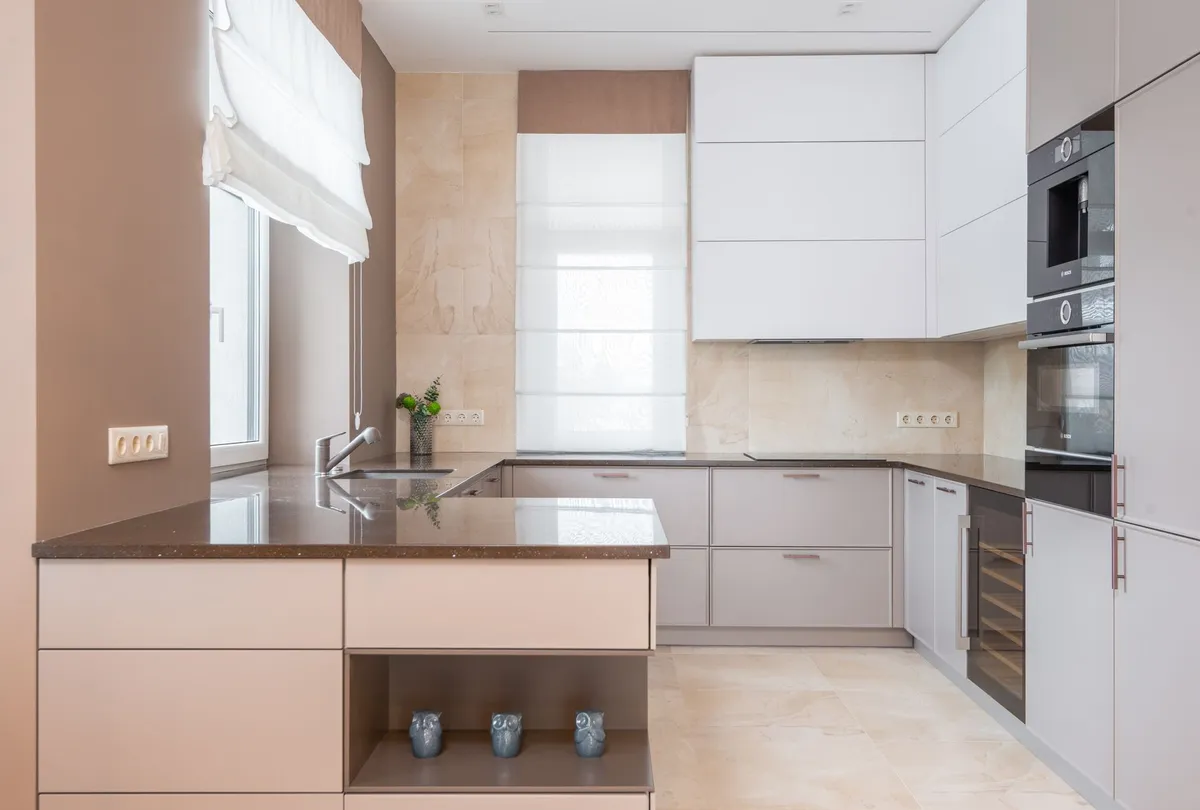
Securing Wall Decor and Organizers Without Drywall Damage
Bare tile and flat cabinet faces can make a kitchen feel sterile, especially when you’re forced to cram essential tools onto the countertop. Lightweight wall organizers, measurement charts, or small art prints soften those hard edges—but the traditional approach of drilling into drywall or tile is a nightmare for renters and a regret for homeowners.
Enter pressure‑sensitive adhesive strips, a damage‑free solution that adheres securely without leaving holes or residue. The science behind these adhesives is outlined on Wikipedia’s pressure‑sensitive adhesive page.
Matching Weight Ratings to Kitchen Hazards
Near steam, grease, and high‑traffic zones, the adhesive’s weight rating is critical. A mis‑match can lead to a snapped glass or a fallen rack, creating a mess and a repair bill.
- Command Poster Strips (holds up to 1 lb per pair) are perfect for paper charts, recipe cards, and lightweight prints.
- Command Picture Hanging Strips (holds up to 5 lb per set) support acrylic meal planners, small wooden racks, and medium‑weight décor.
Pro tip: Clean the surface with rubbing alcohol first to eliminate hidden grease, press the strip firmly for 30 seconds, and let it cure for an hour before loading weight.
Because kitchen layouts evolve, these strips let you reposition storage three inches left or right whenever inspiration strikes—no permanent regret attached.
Creating Dedicated Overflow Storage in Adjacent Kitchen Zones
A full‑scale renovation isn’t necessary to solve chronic kitchen crunch. The highest‑yield upgrade often happens outside the core cooking zone, expanding storage into nearby alcoves, dining corners, or even the pantry hallway.
Harmonizing Heights for Architectural Flow
Maintaining clean visual sightlines across an open‑plan layout demands careful scale management. According to the principles of interior design, low‑profile furniture under 32 inches preserves natural light and prevents visual blockage. For more insights, check out Multifunctional Outdoor Spaces: The New Essential for Urb….
Place an IKEA MALM 3‑drawer chest (31 ½″ W × 18 7⁄8″ D × 30 3⁄4″ H) in a dining nook. Its handle‑free, matte finish mimics built‑in cabinetry while offering deep drawers for bulk items like Dutch ovens, linens, and holiday platters. The result? A seamless transition that adds overflow capacity without disrupting the room’s flow.
Benefits of overflow storage
- Reduced mental fatigue – A tidy countertop lowers stress, as noted in a Harvard Business Review study on workspace organization.
- Improved workflow – Tools stay where you need them, cutting down on time spent searching.
Flexibility – Low‑profile units can be moved or re‑purposed as your needs change.
Assign specific categories: Keep daily cooking tools in primary drawers; route secondary items (linens, seasonal bakeware) to the adjacent zone.
- Protect sightlines: Choose furniture under 32 inches high to avoid blocking natural light.
- Match cabinet finishes: Opt for minimalist designs in matte neutral shades to blend with existing woodwork.
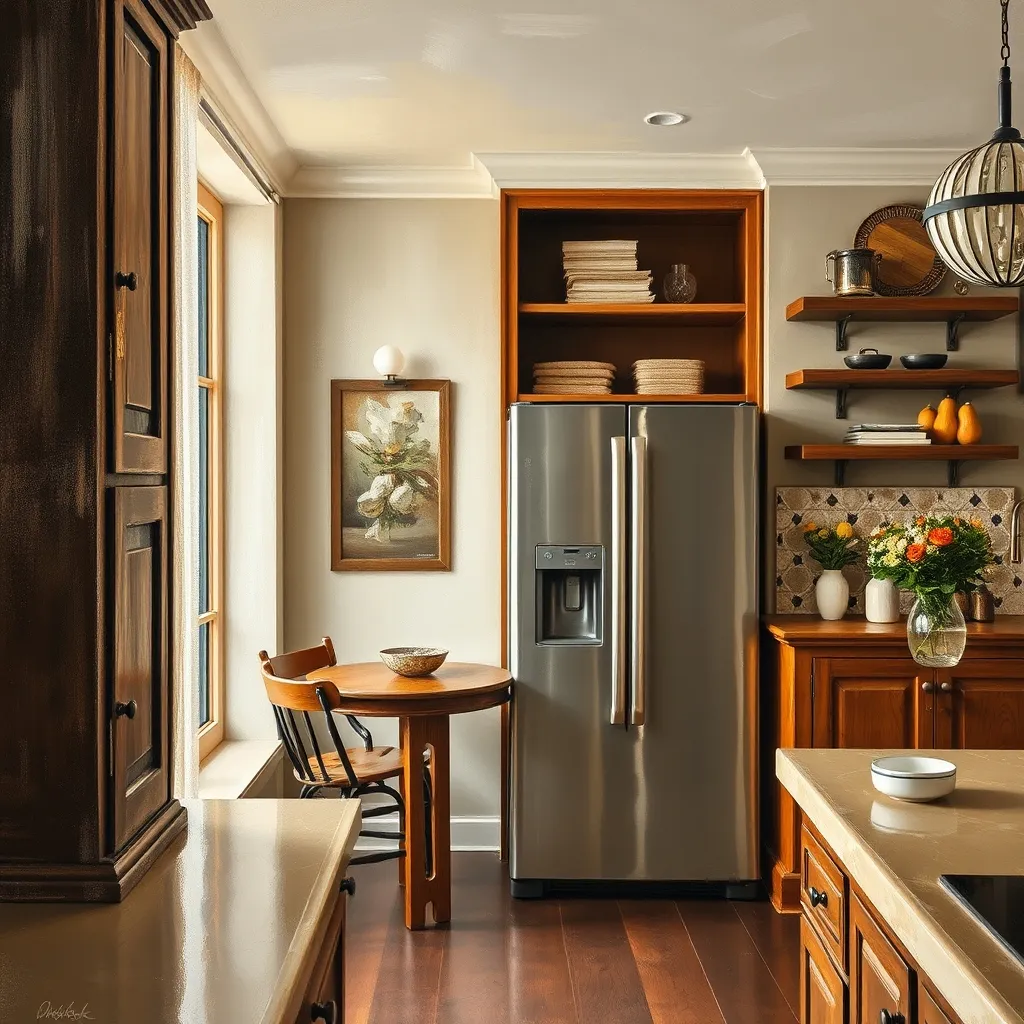
Rethinking Kitchen Renovations Beyond the Appliance Myth
Investing in high‑end stainless‑steel appliances can refresh a kitchen’s aesthetic, but it rarely solves operational frustration. The real transformation lies in optimizing storage and clearing counter space. When every item has a designated home, meal prep becomes quicker, cleanup easier, and the kitchen feels more inviting.
A 2022 study by the Journal of Environmental Psychology found that kitchens with organized, clutter‑free surfaces reported 28 % higher user satisfaction than those with newer, but more crowded, appliance layouts. The takeaway is clear: smart storage beats shiny metal.
Practical Steps to Measure and Implement
- Assess unused wall or corner space – Use a tape measure to record height, width, and depth.
- Select a storage unit that fits those exact dimensions (many retailers offer custom‑size options).
- Install adhesive strips or low‑impact hardware to mount the unit without drilling. For more insights, check out Modern home decor trends for 2026.
- Categorize items and assign each to a specific shelf or drawer.
- Review and adjust after a week of use; tweak the layout to match your cooking rhythm.
By following this systematic approach, you’ll reclaim valuable square footage without the hassle or expense of a full construction project. Remember, the goal isn’t just to look good—it’s to function better every day.
Looking Ahead: Making the Most of Your Kitchen Space
Now you’ve nailed upright storage, wall‑mounting without damage, and extra tricks, think about the next step.
Next step – a new layer of tweak.
- Integrate smart lighting – under shelves to cut shadows.
- Add magnetic spice tins – to the side of a stainless‑steel drawer for instant access.
- Use clear, label‑friendly containers – to keep look neat while you see inventory.
Result.
These small upgrades add up over weeks – turning a plain kitchen into a fast hub.
Keep the main rule in mind – store smart, work free.
The countertop is a canvas – let the walls be the frame.
Impact.
Frequently Asked Questions
Why are storage upgrades more impactful than buying new kitchen appliances?
New appliances boost look – but storage fixes daily clutter and adds usable counter space.
Cleaning cabinets and adding set organization units solves snags – that stainless‑steel finishes just can’t fix.
Okay.
How can you add wall storage in a kitchen without drilling into tile or drywall?
Damage‑free sticky strips – like Command Poster Strips (1 lb) and Command Picture Hanging Strips (5 lb) – let you mount light items without hurting tiles or rental drywall.
Clean the surface, press firm, then let the glue cure before adding weight.
Works.
What furniture pieces work best for kitchen overflow storage in small spaces?
Simple shelving units – catch extra without crowding tight floor plans.
The IKEA KALLAX 2×2 shelf unit ($49.99; 30 1⁄8″ × 30 1⁄8″) serves as a compact pantry side station – fits small kitchens.
The IKEA KALLAX 1×4 shelf unit