
Training With Chronic Pain: How to Stay Fit Without Getting Hurt
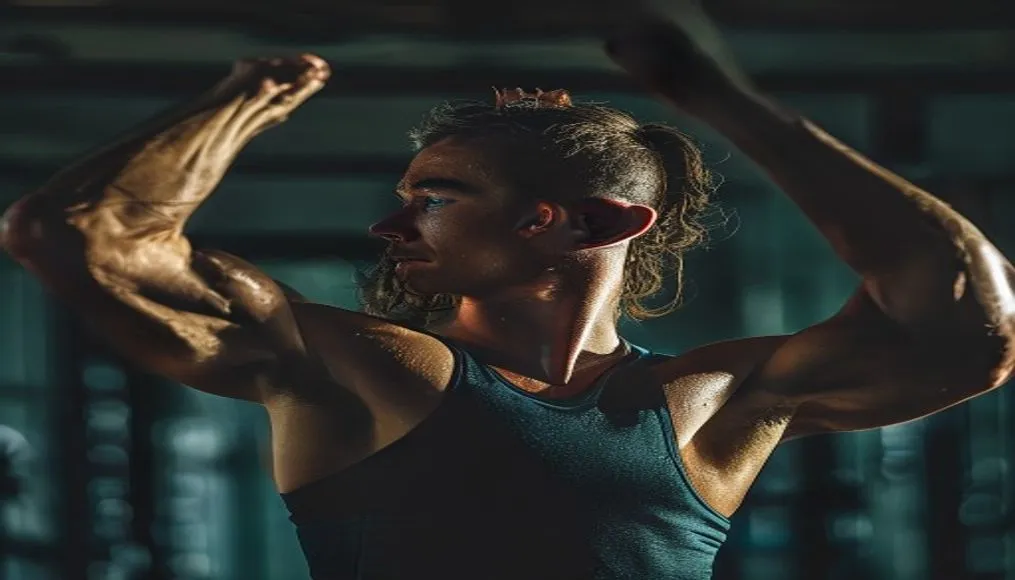
Chronic pain is one of the most significant barriers to a consistent fitness routine. It often forces us into a frustrating “start and stop” cycle that kills momentum and erodes self-confidence. You likely know the feeling all too well: motivation finally hits, you start a new workout program with high hopes, but within three days, your lower back or knees begin to flare up. Suddenly, quitting feels like the only logical choice to prevent further damage. I’ve spent years in the fitness industry, and I’ve seen this pattern repeat countless times. In my own journey, I’ve had to navigate the fine line between pushing my limits and respecting a nagging rotator cuff injury. What I’ve learned—and what the research confirms—is that exercise shouldn’t be the enemy of recovery; it should be the foundation of it.

Our editorial team covers wellness, productivity, and modern living \u2014 backed by research, shaped by real experience. We believe good advice should read like a conversation, not a textbook.

Learning to train around pain requires a fundamental shift in perspective. You aren’t “broken,” and you don’t have to be relegated to the sidelines. Pushing through sharp, stabbing sensations is a recipe for long-term injury, but total rest is rarely the answer for chronic issues either. By adopting a “pain-aware” approach, you can maintain your muscle mass, improve your cardiovascular health, and actually reduce your systemic inflammation. If you’re looking to accelerate your progress, check out these proven strategies to achieve your fitness goals faster while keeping your body safe.
Related: Trainer Reveals No-Equipment Workouts to Build Str and Build a Home Gym for Under $200: Simple Fitness Gu
Essential Tools for a Pain-Aware Fitness Routine
Safety is the absolute priority when you’re working with a sensitive nervous system or joint issues. You don’t need to spend thousands of dollars on high-end gym equipment, but having the right tools can make the difference between a successful session and a week spent on the couch with an ice pack. These items aren’t just accessories; they’re diagnostic and protective equipment designed to help you track intensity and shield your joints from unnecessary stress.
- Resistance Bands: These are arguably the most important tool for anyone training with pain. Unlike free weights, which rely on gravity and can create “sticking points” that stress joints at their weakest angles, bands provide linear variable resistance. This means the tension increases as the band stretches, allowing you to load the muscle safely throughout the entire range of motion.
- A Reliable Fitness Tracker: Monitoring your heart rate and recovery metrics is vital. When I’m managing a flare-up, I use my tracker to ensure I’m not overreaching. Apps like Cronometer are excellent for logging not just your activity, but also your micronutrients and inflammatory markers like sleep quality, which directly impact how much pain you feel during a workout.
- Foam Roller or Lacrosse Ball: These are your “first responders” for muscle tightness. Self-myofascial release can help desensitize the nervous system and increase blood flow to areas that feel restricted, making it easier to move through a full range of motion during your actual workout.
- A Supportive, High-Density Mat: If you have spinal issues or sensitive knees, a standard thin yoga mat won’t cut it. You need a thick, high-density mat to provide a stable but cushioned base for floor-based exercises like bird-dogs or glute bridges.
- A Training Journal: This is your most powerful tool for long-term success. By tracking your pain levels on a scale of 1-10 alongside your specific exercises, you can identify patterns. You might notice that overhead presses always lead to a neck ache, but landmine presses feel great. This data is gold.
Step 1: Differentiate Between Discomfort and Damage
One of the hardest things for any fitness enthusiast to master is the ability to interpret the body’s signals correctly. In the gym, we’re often told that “no pain, no gain” is the mantra of success. This is dangerous advice for someone with chronic issues. You must learn the difference between muscle burn and mechanical damage. Muscle soreness (or “the pump”) is usually a dull, general ache that feels productive and fades shortly after a set. Joint pain, however, is often sharp, localized, and acts like a biological stop sign.
When I was working with a client who struggled with chronic knee pain, he assumed that deep squats were simply off the table forever. By using his training log, we discovered that his pain spiked specifically during the bottom portion of a traditional squat. When we switched to box squats—which limit the range of motion and keep the shins more vertical—his pain disappeared, but his muscle growth continued. Research on injury prevention suggests that the goal isn’t just to stop moving, but to find the “Goldilocks zone” of movement that stimulates the muscle without causing joint swelling or neural guarding.
The 24-Hour Rule for Pain Management
If you aren’t sure if an exercise was “too much,” use the 24-hour rule. It’s normal to feel some mild discomfort during a session, but if your pain levels are significantly higher the next morning, you’ve exceeded your body’s current capacity for load. This doesn’t mean you failed; it just means you need to adjust. Next time, lower the weight, reduce the number of sets, or choose a smaller range of motion. This iterative process is how you build a resilient body over time.
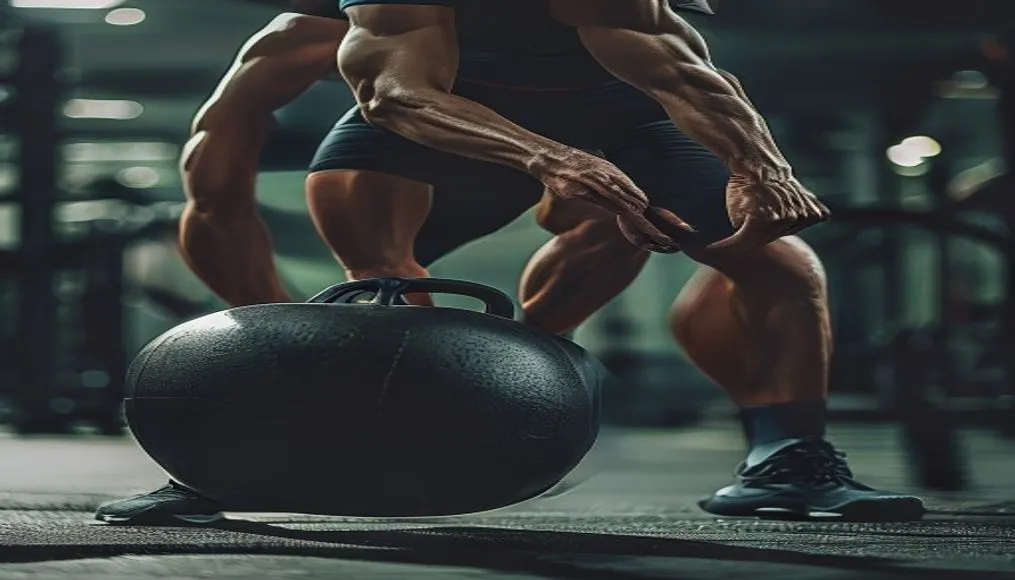
Step 2: Modify Your Movement Patterns for Common Pain Points
Flare-ups don’t mean you have to stop exercising; they mean you need to change how you move. This is known as “regression” or “modification.” The goal is to keep the target muscle working while removing the stress from the vulnerable joint. For instance, lower back pain is frequently exacerbated by spinal flexion or extension under heavy loads. Instead of a traditional barbell deadlift, which places a long lever arm on the lumbar spine, I often recommend suitcase deadlifts. By holding a dumbbell at your side, you can keep your torso more upright and engage your core more effectively, significantly reducing the shear force on your spine.
Knee issues are another common hurdle. Often, what feels like a knee problem is actually a hip or ankle mobility problem. When the hips are tight, the knees are forced to move in ways they weren’t designed for. Instead of deep lunges, which can be brutal on the patellofemoral joint, try step-ups on a low box. This limits the range of motion at the knee while keeping the glutes and quads under tension. If you’re dealing with complex issues, seeking guidance from personalized physical therapy programs like Hinge Health can help you match your exercise selection to your specific injury history.
The Importance of a Strategic Warm-Up
A common mistake I see is skipping the warm-up to “save energy” for the main lift. When you’re dealing with pain, the warm-up is the most critical part of the session. It lubricates the joints with synovial fluid and “wakes up” the nervous system. Spend at least 10 minutes on low-impact movements like cat-cow stretches, glute bridges, and shoulder circles. This sends a signal to your brain that it’s safe to move, which can actually lower your overall pain perception during the harder parts of your workout.
Step 3: Build Strength Using Time Under Tension
You don’t need to lift heavy triples to build a strong, aesthetic physique. In fact, when you’re managing chronic pain, heavy loading can often be counterproductive because it places too much stress on the connective tissues. Instead, focus on “Time Under Tension” (TUT). By slowing down your repetitions—for example, taking three full seconds to lower a weight (the eccentric phase)—you can recruit more muscle fibers and create more metabolic stress with much lighter weights.
A 2024 study published in The Lancet highlighted that steady, light-to-moderate activity is far more beneficial for chronic pain management than total rest. Our bodies are biological machines designed for movement; when we stay still, our joints become stiff and our muscles atrophy, which only makes the pain worse in the long run. Aim for an intensity of about 60-70% of your maximum effort. This is enough to stimulate growth and bone density without overloading the nerves. For a deeper look at different training philosophies, consider how traditional methods compare with modern fitness approaches.
Step 4: Knowing When to Call in a Professional
While self-modification is powerful, there are times when you need an expert eye. If your pain persists for more than three weeks despite making adjustments, or if the pain is severe enough to wake you up at night, it’s time to see a physical therapist or a sports medicine doctor. Experts like Dr. Karen Litzy emphasize that movement screens can identify the subtle imbalances—like a “sleepy” glute or a restricted ankle—that are causing your pain in the first place.
You might also enjoy: Morning Vs Evening Workouts: Fitness Expert Shows
Physical therapists don’t just give you “rehab” exercises; they give you the blueprint for higher performance. For example, a study in the Journal of Orthopaedic and Sports Physical Therapy found that strengthening the gluteus medius is one of the most effective ways to alleviate chronic knee pain. By fixing the foundation, you improve your overall function. Don’t wait until you’re completely immobilized to seek help. As the experts at Hinge Health point out, a custom plan built on data and clinical expertise ensures you can train for the next ten years, not just the next ten days.
Your Path to a Consistent, Pain-Free Future
In the world of fitness, consistency will always beat intensity. It’s better to have three 30-minute sessions that feel good and leave you energized than to have one 90-minute “beast mode” session that leaves you unable to walk for a week. Your fitness journey is a marathon, not a sprint, and your body is the only vehicle you have for the trip.
If you have an acute injury, please get doctor approval before starting any new routine. But for the millions of people dealing with nagging, chronic issues, the message is clear: you can and should move. Pick just one modification from this guide today. Swap your barbell bench press for a floor press or use resistance bands for your rows, and track how you feel 24 hours later. You are in control of this process. By listening to your body instead of fighting it, you’ll discover that strength and longevity are well within your reach.
Frequently Asked Questions
Q: How do I know if I’m working out too hard or just pushing myself?
A: Use the “nature of the pain” as your guide. If you feel a sharp, electrical, or stabbing sensation during a set, stop immediately. If you feel a deep, warm muscle burn, you’re likely in the clear